Complete Guide To PCB Soldering Techniques
Soldering a PCB board (Printed Circuit Board) is one of the most fundamental skills in electronics manufacturing and PCB assembly. Whether you are building a prototype, repairing electronic devices, or assembling circuit boards for production, learning how to solder PCB board correctly ensures reliable electrical connections and long-term performance.
PCB soldering is the process of joining electronic components to a printed circuit board using solder, a metal alloy that melts at relatively low temperatures. Proper PCB soldering techniques create strong mechanical bonds and stable electrical conductivity.
In this guide, we explain how to solder PCB boards step-by-step, the tools required, professional soldering methods, and best practices used in modern PCB assembly and electronics manufacturing.
What Is PCB Soldering?
PCB soldering refers to the process of attaching electronic components to a printed circuit board using molten solder.
During soldering, a heated soldering iron melts solder wire, allowing it to flow between the component lead and the copper pad on the PCB. Once cooled, the solder solidifies and forms a durable electrical and mechanical connection.
PCB soldering is widely used in:
- PCB assembly (PCBA manufacturing)
- electronics repair
- prototype circuit board development
- industrial electronics production
Common types of PCB soldering include:
| Soldering Method | Application |
|---|---|
| Hand Soldering | Manual electronics assembly and repair |
| Reflow Soldering | Surface mount PCB assembly |
| Wave Soldering | Through-hole component production |
| Selective Soldering | Mixed technology PCB boards |
For small projects and prototype electronics, manual PCB soldering using a soldering iron is the most common method.
Tools Required To Solder A PCB Board
Before starting the PCB soldering process, you need the correct electronics soldering tools.
Essential PCB soldering equipment includes:
Soldering Iron
A temperature-controlled PCB soldering iron is required to melt solder and heat component leads.
Recommended temperature:
- 350°C – 380°C (662°F – 716°F) for leaded solder
- 370°C – 400°C for lead-free solder
Solder Wire
Common types include:
- Sn60/Pb40 leaded solder
- Lead-free solder (Sn-Ag-Cu alloy)
Leaded solder is easier to use, while lead-free solder is required for RoHS compliant PCB manufacturing.
Flux
Flux improves solder flow and removes oxidation from copper pads and component leads.
Common flux types:
- Rosin flux
- No-clean flux
- Water-soluble flux
Additional Tools
Other helpful PCB soldering tools include:
- PCB holder or circuit board clamp
- Solder wick (desoldering braid)
- Solder sucker
- Precision tweezers
- Magnifying glass or inspection microscope
Using professional tools significantly improves PCB solder joint quality and assembly reliability.
Step-By-Step Guide: How To Solder A PCB Board
Follow this standard PCB soldering procedure used in electronics assembly.
Step 1: Prepare The PCB Board
Before soldering, ensure the printed circuit board is clean and free of oxidation or contamination.
Preparation steps include:
- Clean the PCB surface with isopropyl alcohol
- Inspect copper pads for damage
- Verify component placement and orientation
Proper preparation improves solder wetting and joint reliability.
Step 2: Insert Components Into The PCB
For through-hole components, insert the component leads through the corresponding holes on the PCB board.
Make sure:
- Component polarity is correct
- Leads extend slightly through the board
- Components sit flush against the PCB surface
Correct placement ensures accurate PCB assembly and electrical connectivity.
Step 3: Heat The Pad And Component Lead
Place the soldering iron tip so that it touches both the PCB pad and the component lead simultaneously.
This step is critical because both surfaces must reach the proper soldering temperature.
Typical heating time:
2–3 seconds
This ensures the solder flows evenly across the joint.
Step 4: Apply Solder To The Joint
Feed solder wire into the heated joint (not directly onto the soldering iron).
The solder should melt and flow around the PCB pad and component lead, forming a small cone-shaped solder joint.
A good solder joint should:
- Be smooth and shiny
- Completely cover the copper pad
- Form a concave shape
Avoid excessive solder, which may cause short circuits between PCB traces.
Step 5: Remove Heat And Let The Joint Cool
Remove the solder wire first, then remove the soldering iron.
Allow the solder joint to cool naturally for a few seconds.
Do not move the component during cooling, as this may cause a cold solder joint, which results in unreliable electrical connections.
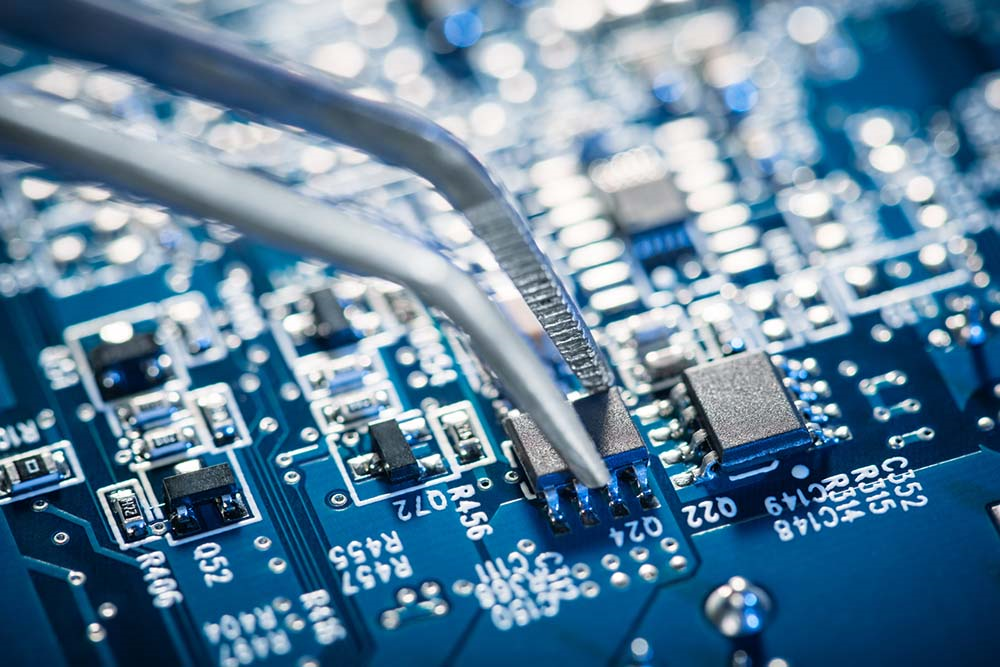
What Does A Good PCB Solder Joint Look Like?
High-quality PCB solder joints share several characteristics.
| Good Solder Joint | Bad Solder Joint |
|---|---|
| Smooth shiny surface | Dull or grainy |
| Concave shape | Large solder blob |
| Fully wets the pad | Poor wetting |
| Strong mechanical bond | Weak connection |
Poor solder joints can lead to electrical failure, signal instability, or product malfunction.
Common PCB Soldering Mistakes To Avoid
Many beginners encounter issues when learning how to solder PCB boards.
Common PCB soldering problems include:
Cold Solder Joints
Cold joints occur when solder fails to melt properly.
Causes:
- Insufficient heat
- Moving components during cooling
Solution:
Ensure proper soldering temperature and stable component positioning.
Solder Bridges
A solder bridge happens when solder accidentally connects two PCB pads.
This can cause short circuits and board failure.
Solution:
- Use less solder
- Remove excess solder with solder wick
Overheating Components
Excessive heat can damage sensitive electronic components.
Best practice:
Limit soldering time to 3–4 seconds per joint.
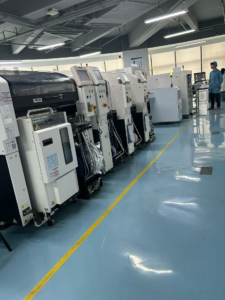
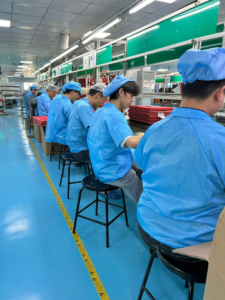
Professional PCB Soldering Methods Used In Manufacturing
While manual soldering is common for prototypes, large-scale PCB assembly manufacturing relies on automated soldering technologies.
Reflow Soldering (SMT Assembly)
Used for surface mount components (SMD).
Process:
- Apply solder paste
- Place components
- Heat board in reflow oven
- Solder melts and forms joints
Wave Soldering
Used for through-hole PCB assembly in mass production.
The PCB passes over a wave of molten solder, forming solder joints simultaneously.
Selective Soldering
Used for mixed SMT and through-hole PCB boards where only specific areas require soldering.
This method improves precision and reliability in complex PCB assemblies.
Tips For Perfect PCB Soldering
To achieve professional PCB soldering quality, follow these expert tips:
✔ Use a temperature-controlled soldering station
✔ Always clean the soldering iron tip
✔ Apply flux to improve solder flow
✔ Keep solder joints small and clean
✔ Inspect joints with magnification
✔ Practice proper ESD protection
These best practices ensure high-quality PCB assembly and reliable electronic performance.
PCB Soldering Applications In Electronics Manufacturing
PCB soldering is used in almost every electronics industry.
Typical applications include:
- consumer electronics
- automotive electronics
- industrial control systems
- medical equipment
- telecommunications hardware
- aerospace electronics
Reliable soldering ensures stable electrical connections and long-term product durability.
Conclusion
Learning how to solder a PCB board is an essential skill in electronics assembly and PCB manufacturing. By using the correct tools, applying proper soldering techniques, and following industry best practices, engineers and technicians can create strong, reliable solder joints that ensure long-term circuit performance.
Whether you are assembling a prototype circuit board, repairing electronics, or manufacturing PCBA products, mastering PCB soldering techniques will significantly improve product reliability, assembly quality, and electrical stability.